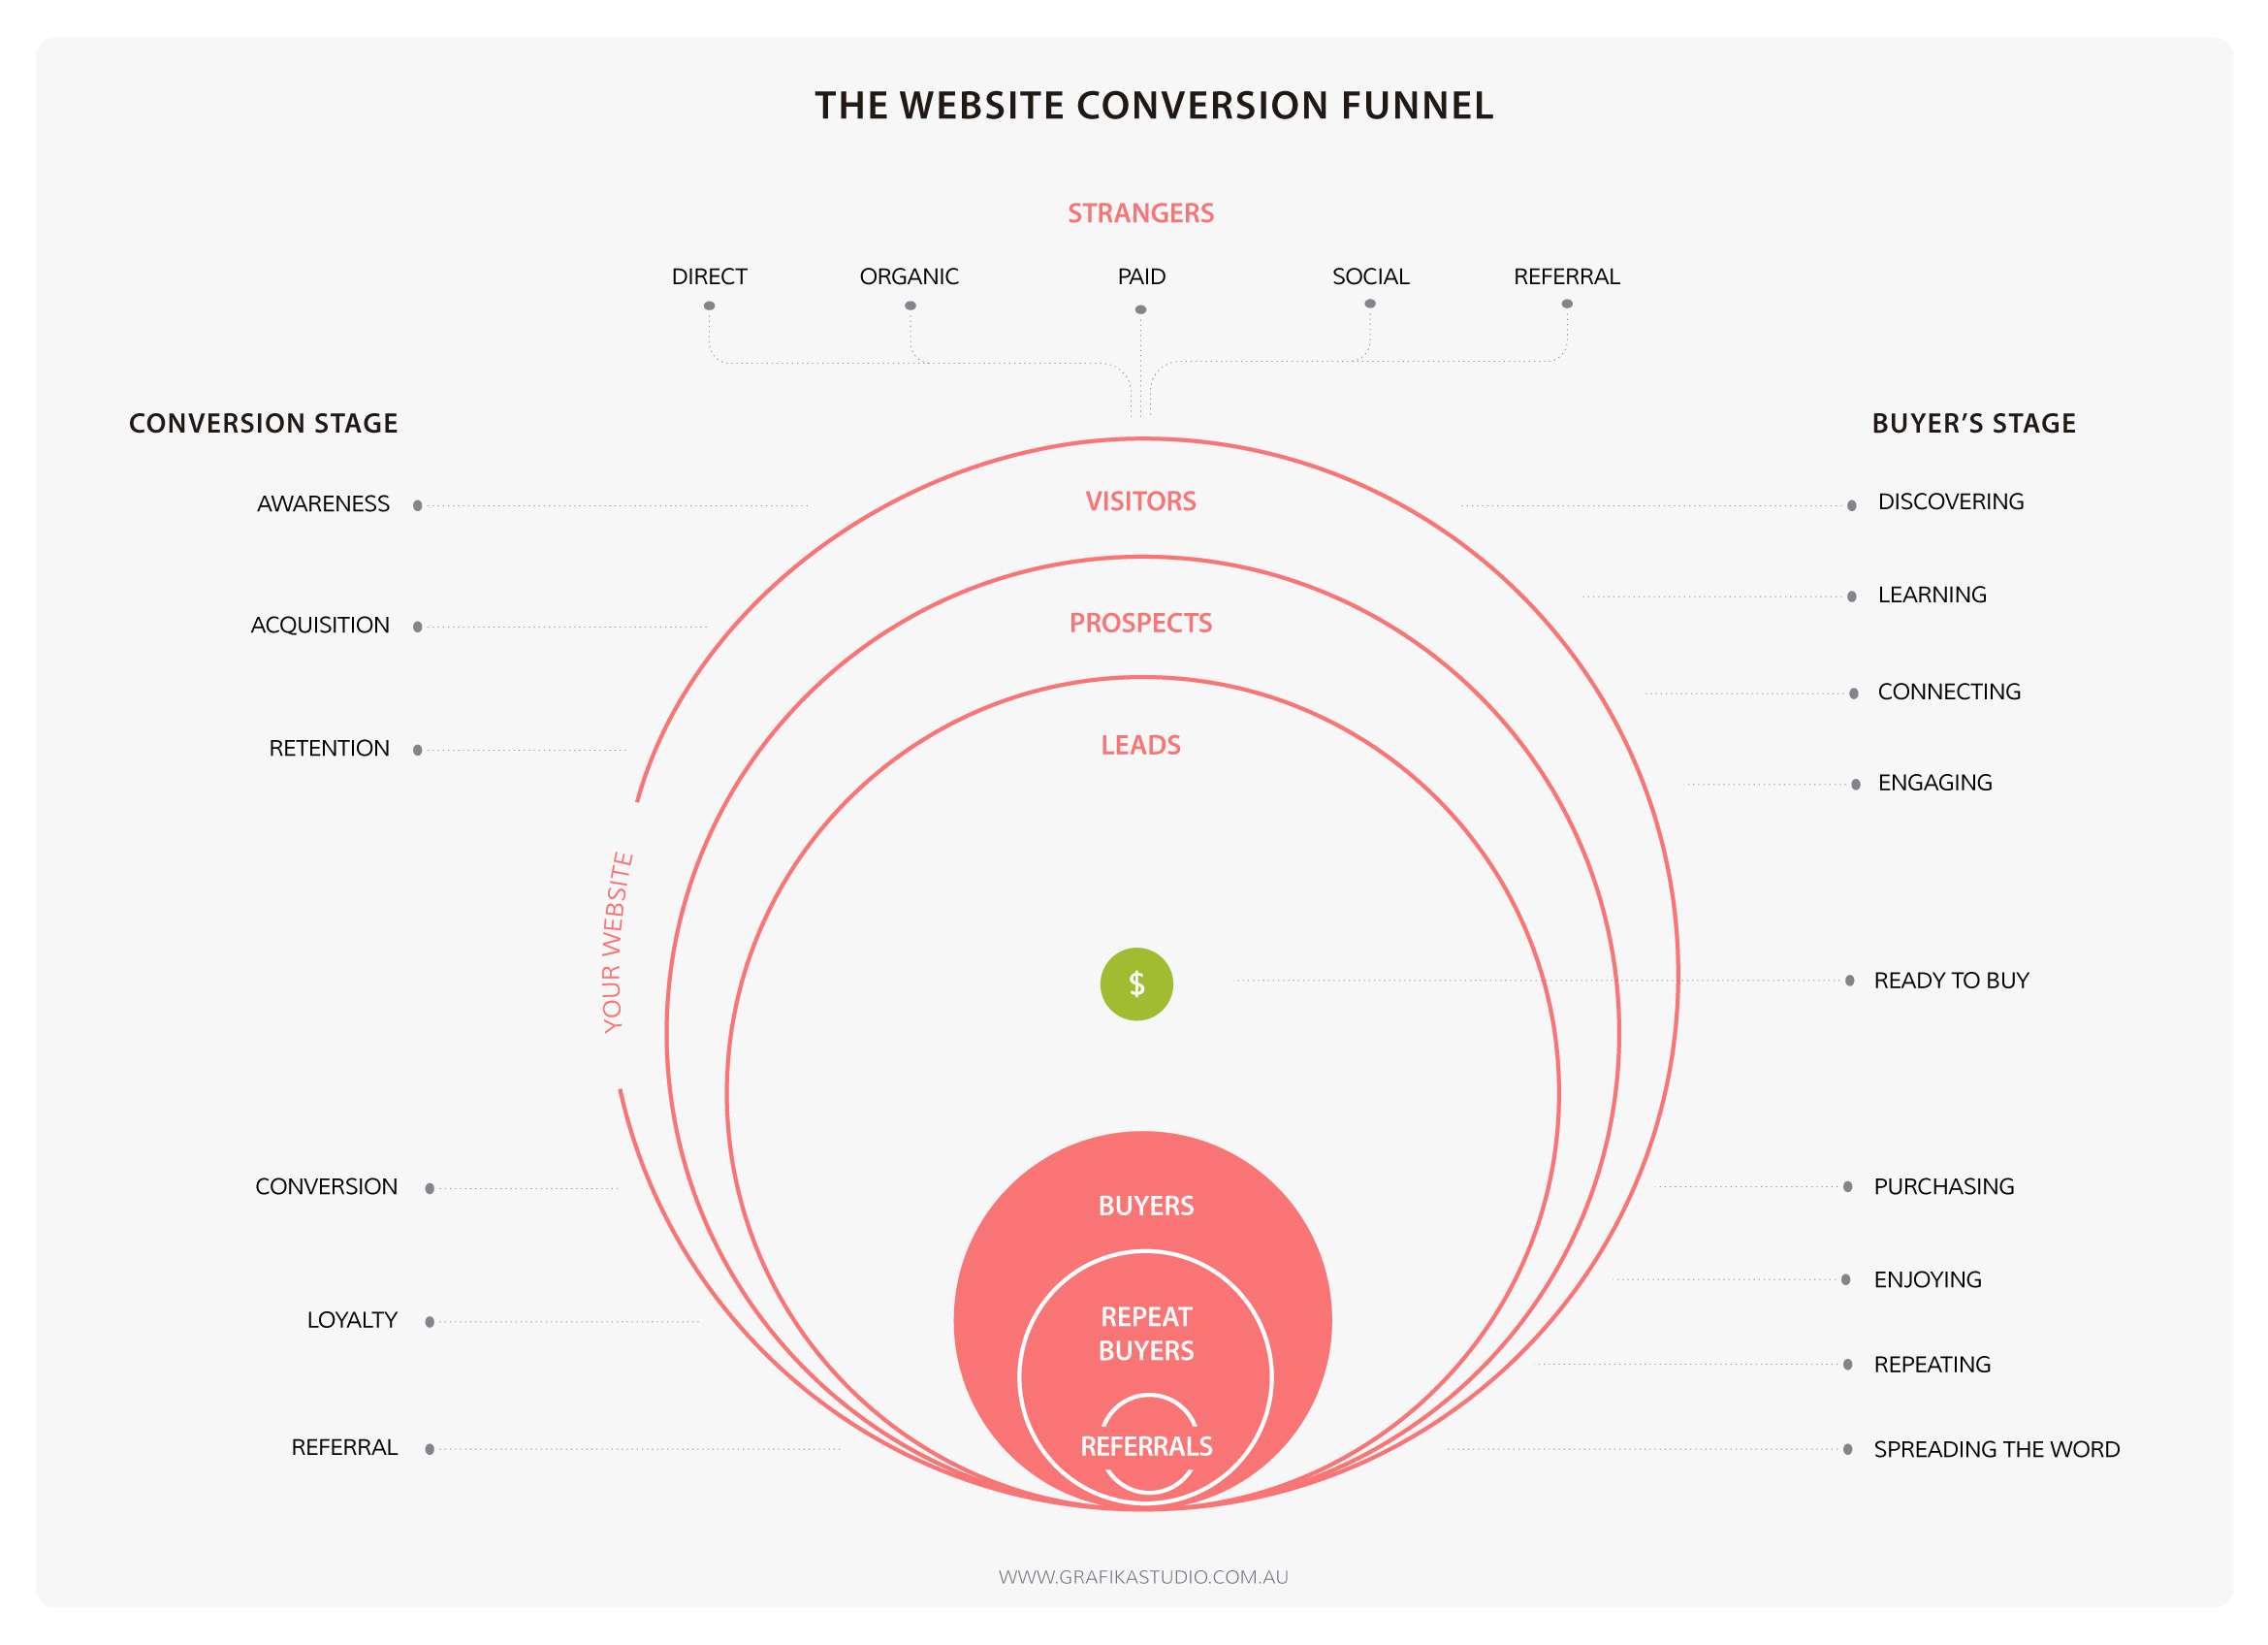
Your email list is the most effective way to connect with your audience after visiting your website. Everyone is busy today, visitors come and leave your website fast, and visits are usually quite short. Because of that, many visitors will forget your business as soon as they leave your website and won't come back again.
It’s said that people need at least seven exposures to brand messages before they make the decision of purchasing from that brand. But if website visitors come and go so quickly, how can you re-connect with them another six times more? The answer is by building an email list.
In last week’s post on The Journey From The First Visit To The First Sale, I talked about how to engage visitors so that they become customers or clients. Part of this engagement process involves collecting visitors’ contact details to stay in touch after they leave your website.
The problem is that today every business wants to build an email list and send communications to their prospects. We are reluctant to give our email details to any other business, as we don’t want to inundate our over-saturated inbox with more email marketing.
There is only one reason why we may give our contact details away, and that’s because we get something valuable in return: a lead magnet.
What’s a lead magnet?
A lead magnet is an incentive given to a prospect in exchange of their contact details. It’s usually exclusive and fabulous content or a sale incentive.
The lead magnet content doesn’t have to be too long or complex, just quick and simple, relevant to your audience and highly actionable. It does need to resolve a common problem or challenge that your prospects may be experiencing.
Here are some lead magnets ideas:
How-To ebook or guide
| |
|---|---|
Report (e.i. income report)
| |
Cheat sheet, checklist or resource list
| |
Template
| |
Stock photos
| |
Fonts, icons and other graphic design elements
| |
Access to member-only areas
|
Video training, ecourse or webinar
| |
|---|---|
Software download, WordPress plugin or online tool
| |
Free trial or freemium content
| |
Coupon, discount or free shipping
| |
Sale material (price list, floorplans, etc)
| |
Event tickets
| |
Product samples
|
|
TIP: Make sure that your freebie looks professionally designed. A great free tool to create a great PDFs and graphics with no design skills is Canva.
|
|---|
To know more about how to create a great lead magnet also read this other post by Steve Scott.
How to build your email list with a lead magnet?
So you have a fantastic piece of content and want to use it to build your email list. Here is what you need:
1. Lead Magnet
2. Catchy call to action (CTA)
3. Landing page (optional)
4. Opt-in form
5. Email Marketing system (in this post I’ll be using MailChimp)
And these is how it will works:
Create a button with a call to action: Download FREE***
Learn how to create a great call to action in this other post
Find the appropriate placement for your CTA
|
Tip: Go above the fold whenever possible to increase the number of visitors that see your CTA. Popup forms could be both very effective for conversion and very annoying for visitors who are not interested.
|
|---|
Create opt-in form to collect name and email details. You can do this directly from your CMS (WordPress, SquareSpace, etc..) or from MailChimp.
Your opt-in form can have different formats:
- Embedded form: directly on your page, post, header, footer or sidebar.
- CTA button: visitors must click on the bottom to display the form.
- Top-bar announcement: the form is displayed at the top of the page.
- Pop-up: the form is displayed on top of the page and you must close it to read the page.
- Slide-up: the form is displayed in a corner of the screen and can collapse or expand.
|
Tip: The number of fields on the form causes the most resistance. Compare the amount of information you ask for in your form to the value of the information you are offering.
|
|---|
Create MailChimp list of subscribers
Access your MailChimp account and go to List > Create List
Link your opt-in form with your MailChimp list.
Go back to SquareSpace and click on Edit Form > Storage > MailChimp > Select your list from dropdown menu. List
Customise your opt-in form Thank You message.
In your SquareSpace Form editor click on Advance and edit your post-submit message. Let your subscribers know that you have sent them a confirmation email to their inbox to confirm their subscription.
Edit Thank You message to include the downloadable file.
Go back to Mailchimp. Find your list and click on it. Click on Setting > List name and defaults > Send a final welcome email > List Forms from designer.
Within List Forms from designer go to Create forms > Forms and response emails.
In the dropdown menu select Confirmation “Thank You” Page. Hover over the default text and click on “Edit”. Add your text with a link to your downloadable.
Test your opt-in form.
Promote your freebie outside your website. Here are some ideas:
Google AdWords
Facebook ads
Facebook groups
Google + communities
Pinterest Group boards
Twitter ads
Instagram ads
Add CTA + link to your email signature
FREE CONVERSION FUNNEL GUIDE
To know more about converting visitors into leads, and leads into repeat buyers or clients, download my FREE conversion funnel guide, with tool checklist and action plan, and lead the journey to your business growth.


